Before you send patients a final notice that their account will be sent to collections, you like to try to reach them by phone. You can add the details of that phone call to the final notice letter you send using the Quick Letters feature in Dentrix. These customizations will apply only to that specific letter and won’t be saved in the letter template, so you can add custom information to each patient’s letter as applicable.
Here’s how:
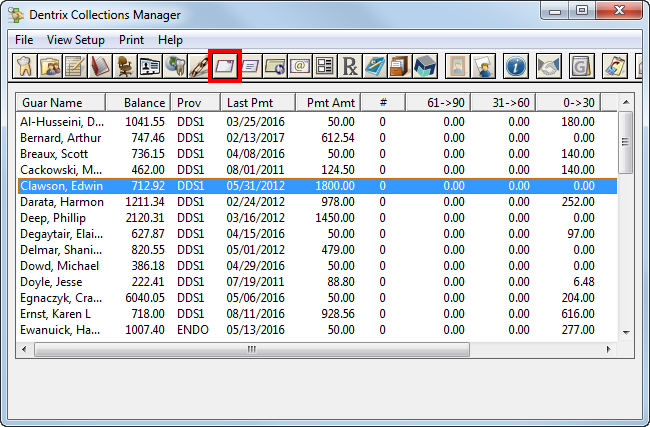
- Use the Collections Manager to generate a list of patients with overdue balances.
- Select a name on the Collections Manager list and click the Quick Letters button.

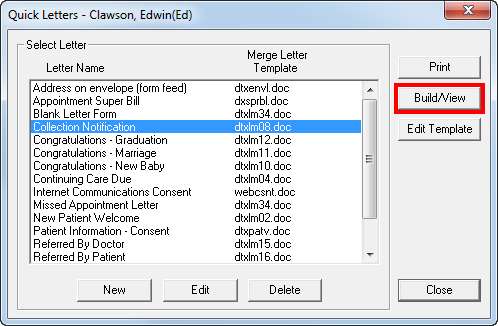
- From the Quick Letters dialog box, select the Collection Notification letter from the list and click Build/View.
- A Microsoft Word document opens with the text of the letter displayed. Add the text about the phone call to the letter, and then print it.
Additional Information
- It’s important that you do not save any changes you make to the letter because you don’t want to overwrite the letter template. Instead, send a copy to the patient’s Document Center. From Microsoft Word, click File > Print. Change the printer to Send to Dentrix Document Center, and click Print. A copy of the letter is saved in the Unfiled Documents folder in the Document Center.
- By default, the Collection Over 90 Day letter is listed as the Collection Notification letter in the Quick Letters list. You can change the letter template being used by selecting the letter and clicking Edit. Change the merge letter template name to reflect the name of the document you would like to use.
- Once you have created and printed the letter, a note is added to the Office Journal indicating that a collection letter was sent.


