One of the features introduced in Dentrix G6 is the List Manager. When you create custom lists in Dentrix you can now view the data in the List Manager without having to actually merge the data into a document. From the List Manager you can sort the data, access patient information from other Dentrix modules, and/or print the list as needed.
To view information in the List Manager:
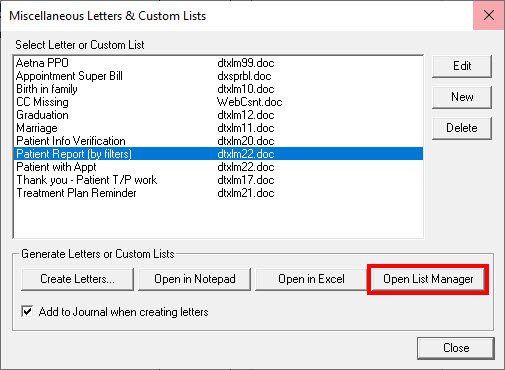
- Click Letters & Custom Lists from the Office Manager toolbar and select a letter/list category that contains the list or custom letter you want to use to create your list, and click Edit.
- Enter the filtering criteria for your list, and click OK.
- Instead of merging the data, click the Open List Manager

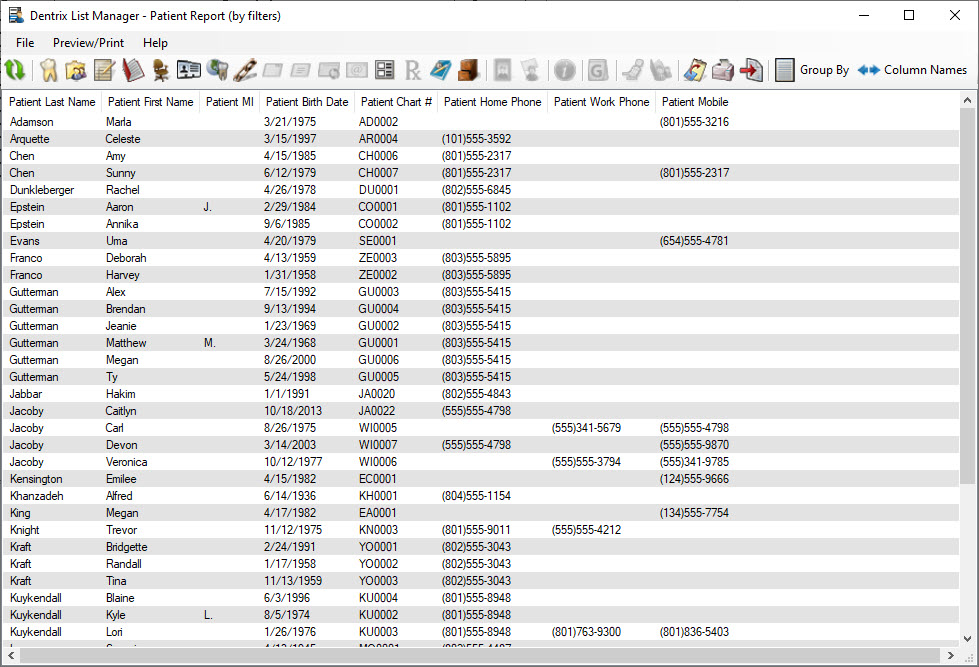
- When viewing the list, each column of information is sortable. Click any column header to alphabetically or numerically sort the information in the list. You can also click and drag column headings to rearrange their order.
- Right-click any patient on the list to display a menu of options you can choose from to get additional information about the patient, such as the More Information window or access to their Guarantor Note. You can also open that patient in a different Dentrix module.
- If you need to print the list, click Preview/Print.
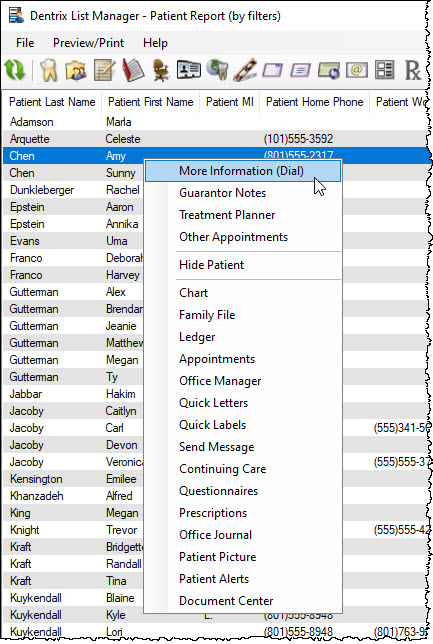
You can also hide any patient from the list by right-clicking their name and selecting Hide Patient.
Bonus Tip: If you need to see the complete list again, including patients you previously hid, click the Refresh button to restore it to the original patient list.
To learn more about the List Manager, view the various topics listed under List Manager Overview in Dentrix Help.


